In this tutorial I will finish off the description of how to enter a firing set by covering the remaining data fields. Remember you don't have to fill out all of the fields.
The next data is Point of Impact (POI) and Point of Aim (POA) data.
I went back and forth over how to enter POI type data. Should I make a picker that looks like a target and just touch to indicate impact locations? How do you put that type of information into a report in a format that is commonly known and easily understood?
As I talked with people I found that they would use a common way to describe POI.
"How did the gun shoot?", I asked.
"It shot high."
"To the right or left?"
"It shot high right, about 2 o'clock, about 3 inches out."
I realized that using the hour hand of a clock was commonly understood. That is how POI, POA, and wind direction is described in the app.
To enter "Point of Impact" data just tap the field.
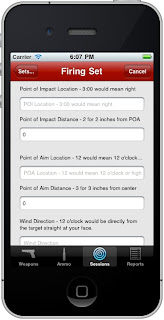
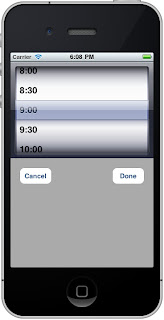
A picker comes up with 24 time entries. Remember, 3:00 would be to the right, 9:00 to the left, 12:00 straight up, and 6:00 straight down.
Tap the "Done" button when you have picked the value you want.
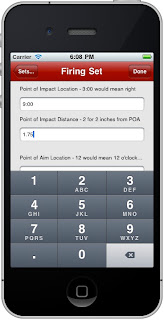
"Point of Impact Distance" is how far from the point of aim (which is usually the center of the target) the point of impact occurred. So, if the POI is straight up and two inches high you would enter 12:00 with a distance of 2.
In this example the gun was shooting to the left, so 9:00 was entered. I shot 1.75 inches wide to the right, so I enter 1.75.
Tap the "Done" button at the top right when you are finished entering the distance.
If you are shooting at the center of the target then the Point of Aim (POA) information can be left blank. If you where trying to shoot 1.75 inches to the left (9:00) then you could enter that information and the results is POI hits POA and therefore you were dead on.
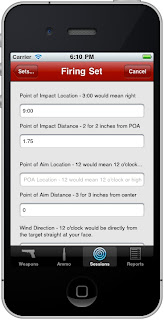
If the "Point of Aim Distance" is zero then that always means the center of the target regardless of the value for "Point of Aim Location".
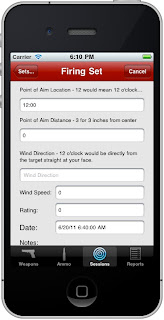
The "Wind Direction" is also specified using the "hour hand" notation. 12 o'clock would be the wind is blowing directly from the target into your face. This is much simpler than saying the wind was for the north west and I was facing due east.
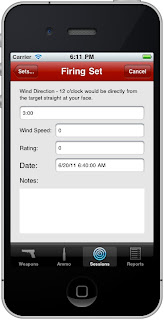
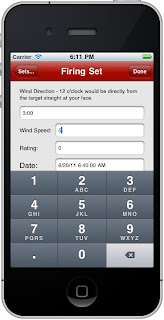
To enter "Wind Speed" just tap the field and enter the value through the keypad. Press the "Done" button at the top right of the app to dismiss the keypad.
Use any unit of measure you want and be consistent.
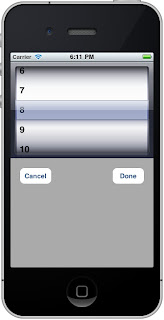
The "Rating" field is a subjective value where you can rate or rank the firing set. For me, 10 would mean that I thought it was an excellent firing set. You don't have to rate the firing set.
Tapping the rating field will bring up a picker with values 1-10.
The date field captures the date and time of the firing set. The time being the most interesting value because the firing session has the date as well.
Finally there is the notes field. Anything extra you want to note can be entered here.
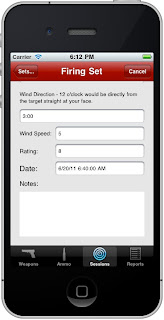
When you are finished just tap the "Sets..." button at the top left of the app to return the the list of sets for a particular firing session.
At this point you can add a new set, or tap the "Session" button to go back.
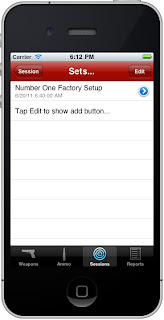
Firing a weapon with a particular configuration using a particular ammunition is a firing set. You can record many useful pieces of information. If you only want to enter a failure you can do so. If you want to enter group size and point of impact information you can do that as well.
The manner in which point of impact, point of aim, and wind direction information is specified is consistent for all three values and uses "clock" or "hour hand" notation. This allows for a common way to describe the information and allows for the information to be used in reports in a clear and meaningful way.
I hope these tutorials help you to use or decide to use the Gun Log app for iPhone.
No comments:
Post a Comment